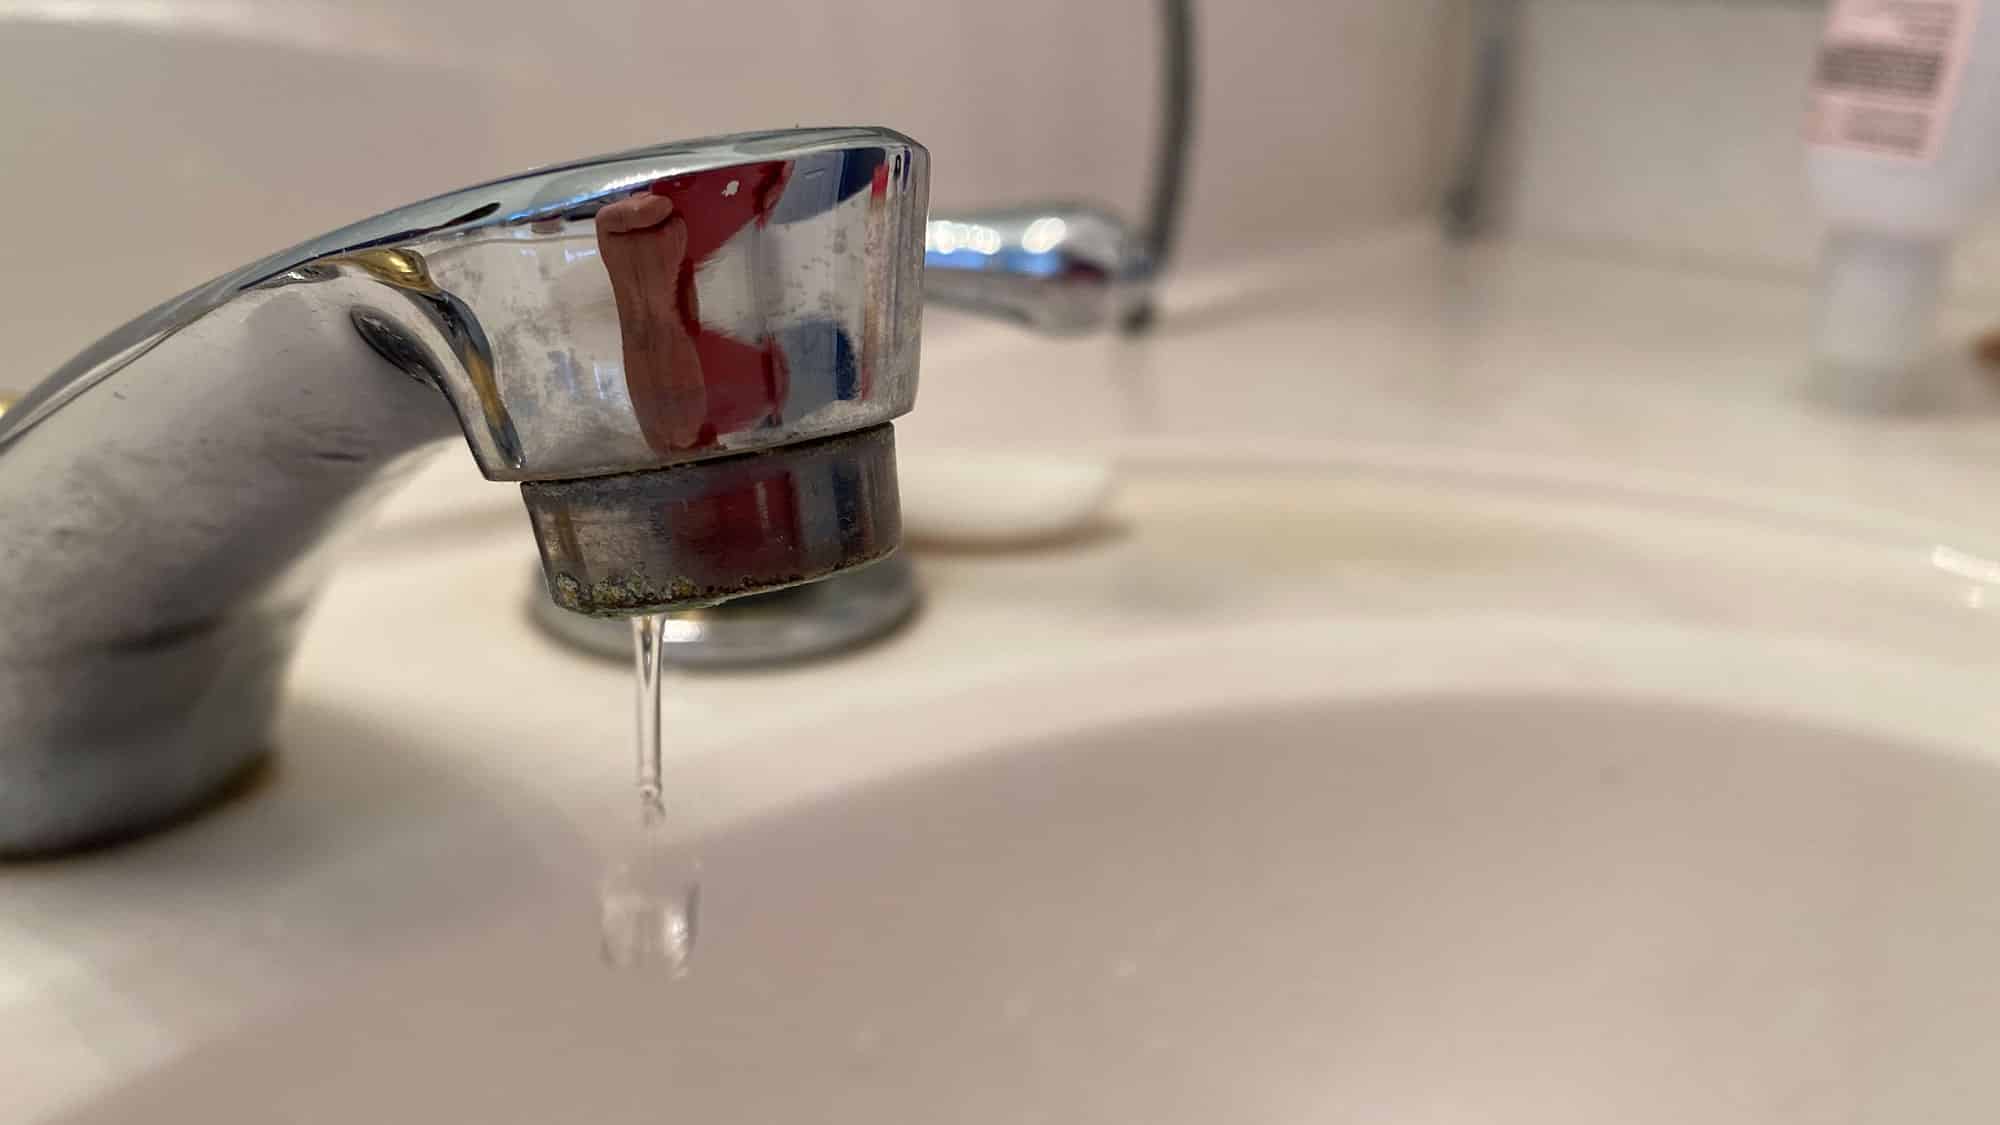
A leaky faucet is a frustrating problem that can waste water, drive up your utility bills, and create an annoying dripping sound. Fortunately, it’s often a simple DIY repair to fix a leaky faucet. This blog article will guide you through diagnosing and fixing common faucet leaks.
Before You Begin
Identify your faucet type:
The two most common types are compression and cartridge faucets. Here’s how to tell the difference:
- Compression faucets: Two handles (hot and cold) and require you to twist to tighten and close the valve.
- Cartridge faucets: Single handle that controls both hot and cold water flow.
Gather your tools:
Depending on the faucet type, you might need:
- Adjustable wrench
- Pliers
- Screwdriver(s)
- Replacement parts (O-rings, washers, cartridge)
- Plumber’s grease
- Towel or cloth
Step-by-Step Guide
1. Turn off the water supply
Locate the shut-off valves under your sink. You’ll usually have separate valves for hot and cold water. Turn both clockwise to stop the water flow
2. Open the faucet
Drain residual water from the faucet.
3. Remove the handle
- Compression faucet: Find the set screw on the handle, usually hidden under a decorative cap, and loosen it. Lift off the handle.
- Cartridge faucet: Unscrew the set screw and remove the handle. You may need to pry off a cap first.
4. Remove the decorative parts
Gently unscrew any decorative flange or escutcheon.
5. Identify the problem
- Compression faucet: Locate the valve stem. You’ll likely notice a worn washer at the bottom.
- Cartridge faucet: You’ll see a cylindrical cartridge. Worn O-rings or a damaged cartridge itself may be the culprit.
6. Replace worn parts
- Compression faucet:
- Unscrew the valve stem and take the old washer to a hardware store to find an exact match.
- Apply some plumber’s grease to the new washer and reassemble the valve stem.
- Cartridge faucet
- Use pliers to gently pull out the cartridge. Get a matching replacement from the hardware store.
- Apply plumber’s grease to the new O-rings and install the new cartridge.
7. Reassemble the faucet
Carefully reinstall all the parts in reverse order. Make sure not to overtighten anything.
8. Turn on the water supply
Turn the valves counterclockwise and check your faucet. If there are still leaks, you may need to reseat the valve seat using a special tool or call a plumber.
Important Tips:
- Protect your sink: Place a towel in the sink to prevent losing small parts.
- Take pictures: Take photos as you disassemble the faucet for easy reassembly.
- Know your limits: While most faucet leaks are straightforward DIY issues, some require more complex repairs. If you’re unsure, call a plumber to avoid causing further damage.
Additional Resources
Home improvement websites like
- The Home Depot: https://www.homedepot.com/c/ah/how-to-fix-a-leaky-faucet/9ba683603be9fa5395fab90ee6659fb,
- Lowe’s: https://www.lowes.com/n/how-to/repair-a-leaky-faucet
- This Old House (https://www.thisoldhouse.com/kitchens/21097141/how-to-stop-kitchen-faucet-leaks) provide detailed instructions and pictures.
Now go conquer that leaky faucet! With this guide, you should be able to handle most faucet leaks, save water, and even impress your friends with your newfound plumbing skills or contact mercyplumbing.com and let the professionals handle it.


